Uncategorized

End Of Year Teacher Gifts On A Budget!

Can you believe the school year is done! It seems like they were getting their stuff ready and mama is following them around taking pictures of them in their new class room and at their desk. Outfits were being picked and lunches where being prepped! Now we are counting down the last hand full of school days, and getting end of year gifts done!

Hi I’m Kandis and welcome to Classy Classic’s By Kandis, this week’s blog is for those gifts that get sent, that we tend to forget about till the last minute!
I always think there is so much time to do end of year thank you gifts.
10 months, the kid’s are in school! That’s a long time to be with a teacher!

I will show you what I have set up this year for the teachers! This is a fun way to personalize a gift on a budget at that. There is so many things that you can do, from gift cards to hand picked fun baskets.
What do you do for  teahers?
Do you give gifts?
What is the price range you deal with?
I have 3 teachers that we are giving to this year with a little something for the secretary because I love her, I could not imagine doing her job I’ll tell ya!

With these gifts there is a mix of bought gifts and personal thought items. These cost me under $10 each!
I think they are going to be so cute! I will also point out that it is all women that I am gifting to this year so it was fun and could all be the same, one thought 3 gifts!
That’s how I like it, the less brain power involved the better some days haha!

Let’s dive into this shall we and start getting the goodies ready. I must also point out that some of it has to wait till next week as I’m baking pies!
Before you get ancy over this thought stay with me as we work through the items and why I would do this lol.
First is the baking that I am sending.
I am one of those moms that make or try to make everything from scratch, I also use to and sometimes run a small baking business out of my kitchen, so sending pies is not out of the ordinary or intimidating to me. You could buy the supplies to do this or just get some goodies and repackage them, also I am also sending dry mixes!
This will be in zip lock bags with how to instructions along with a list of required ingredeints, not much more then a dry mix from the store would require!
Dry mixes this year are to make:

  • pancakes
  • chocolate chip cookies
  • beer bread done on the barbecue. 

The only ingredients are any liquid, egg, oil or beer required!
Then of coarse a apple pie, as I still think of apples for the teachers, lol call me old fashion I guess there haha.

Now, for the purchased items, things changed as I got lost in the dollar tree with so many fun ideas popping into my mind. Ok, well just the cup changed from a wine cup to a big multipurpose cup, which could still be used for wine….. or any drink haha!

Also I bought baking sheets and bread pans along with pot holders instead of baking utensils.
So let’s look I think it’s all perfect, for what I was going for.

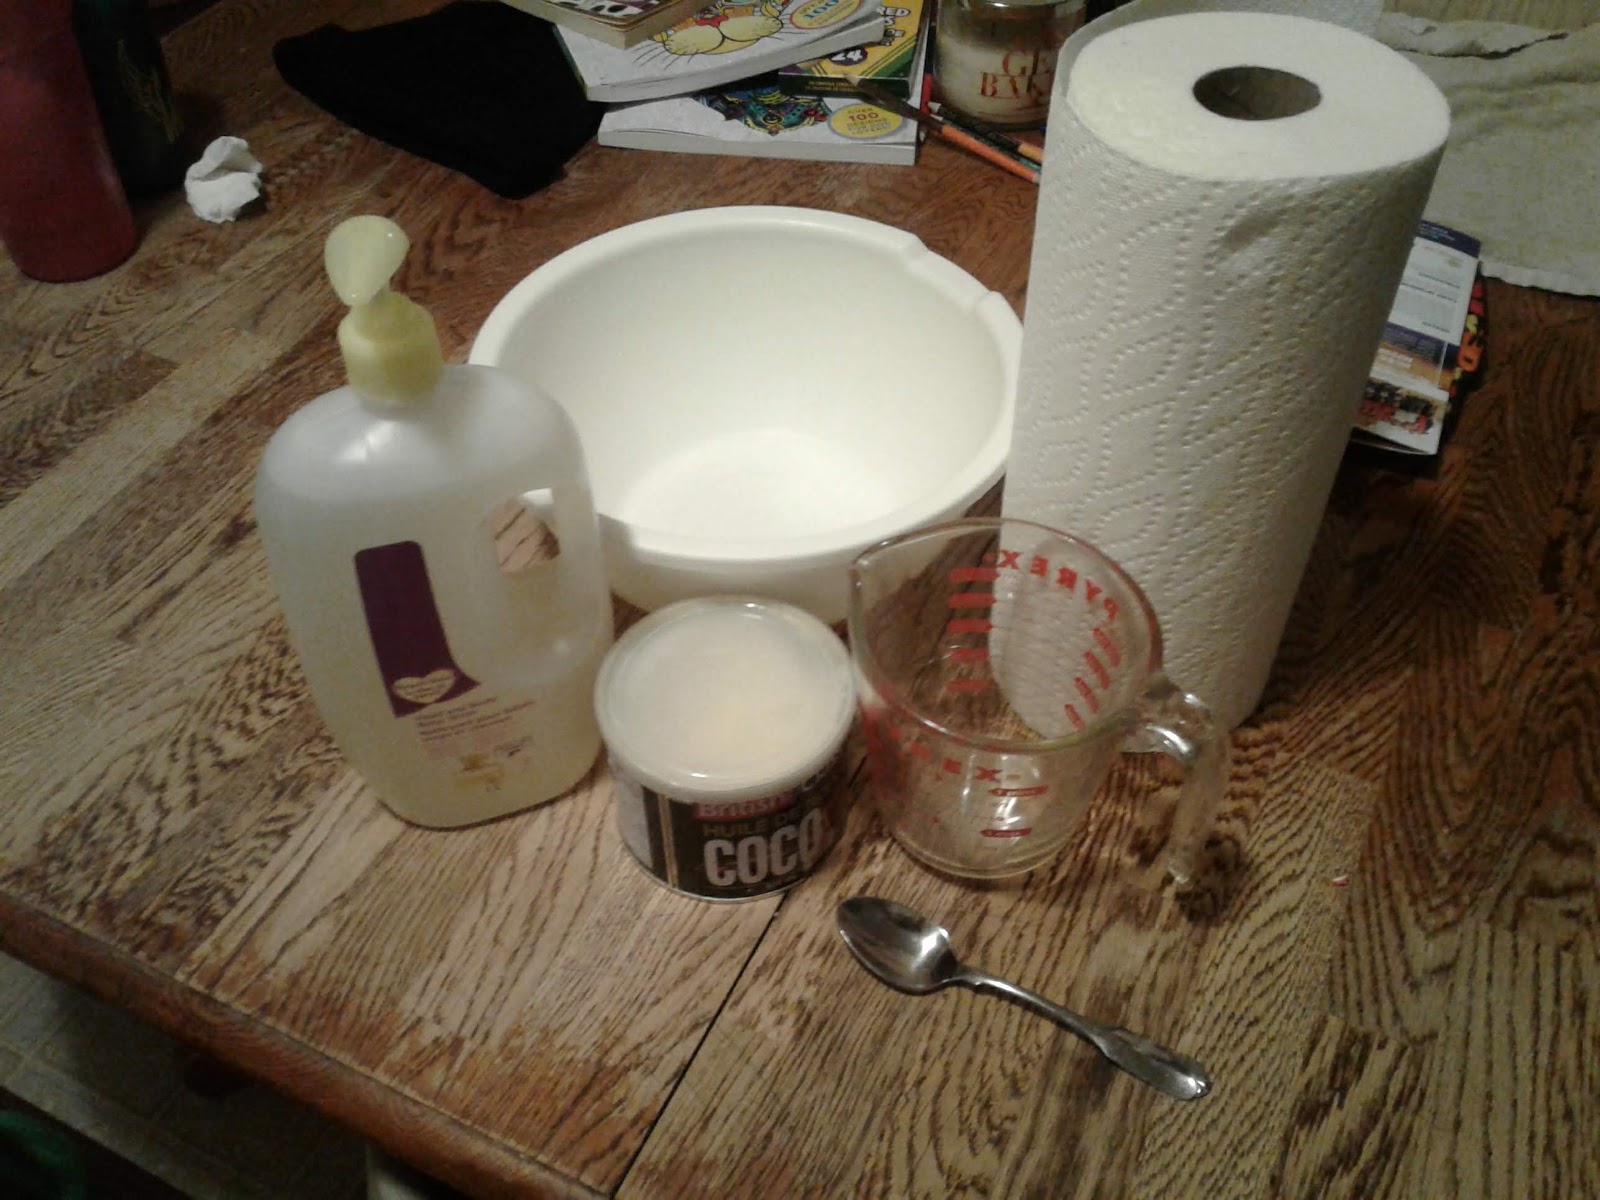
There is a big mixing bowl, cookie sheet and a bread pan for each with a set of pot holders, new coffee cup, the cute big cup, the cutest coconut cup ever, and a small scented candle.
The dry mixes will be labeled and put into the mixing bowl.
The bowl will be the holder to everything other then the pie.
Turning it into a cute diy baking, relax fun in the sun basket!
Adding tissue paper and plastic wrap will make it look high end for a low budget!

Making a diy basket I find to be the easiest just head to a dollar tree and have FUN!

What is you idea’s for the teachers?
Let me know in the comments down below or on one of the social media pages.

With summer coming lots of fun planned make sure you go ahead and hit that follow button for all the upcoming blogs here on Classy Classic’s By Kandis also head over to Facebook under classyclassicsbykandis or Instagram under Kandis Blask!

Hope you have a great gift planning week, I’ll be back soon with another blog very soon. 😁

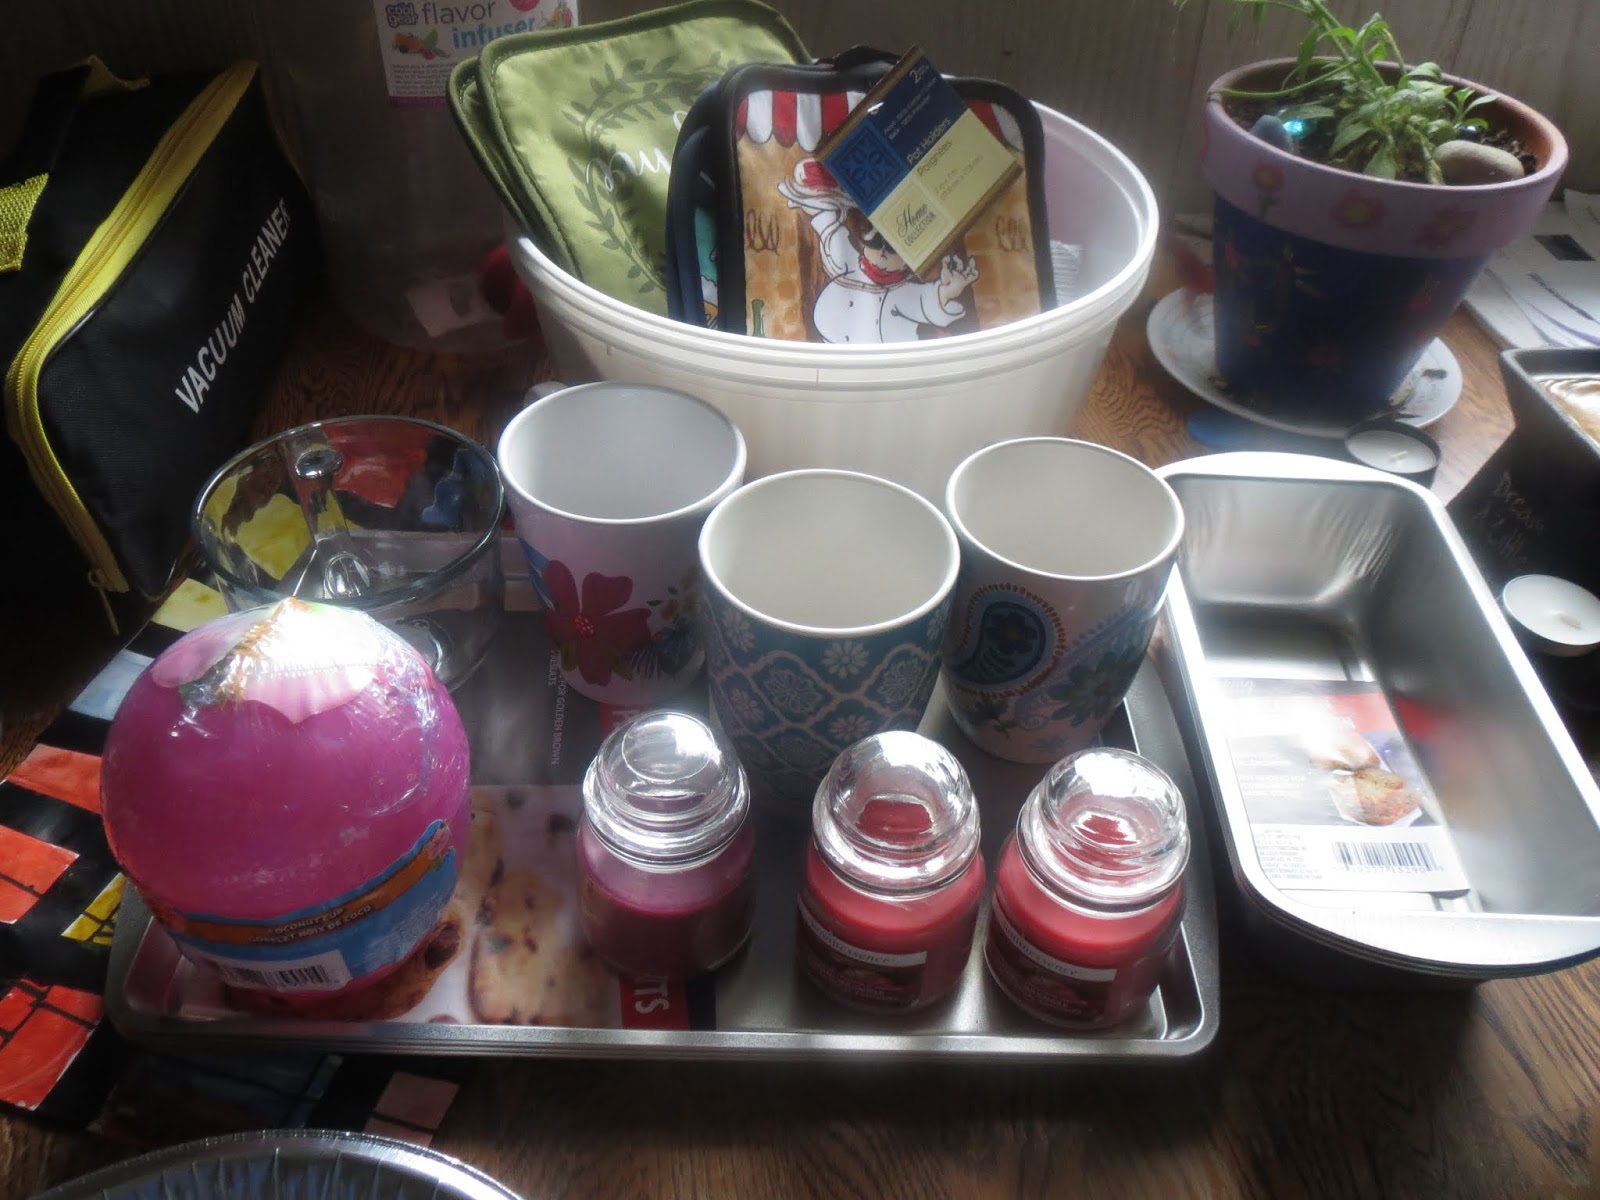
All the items expect dry m8xes and the pie!
Cutest cup😁

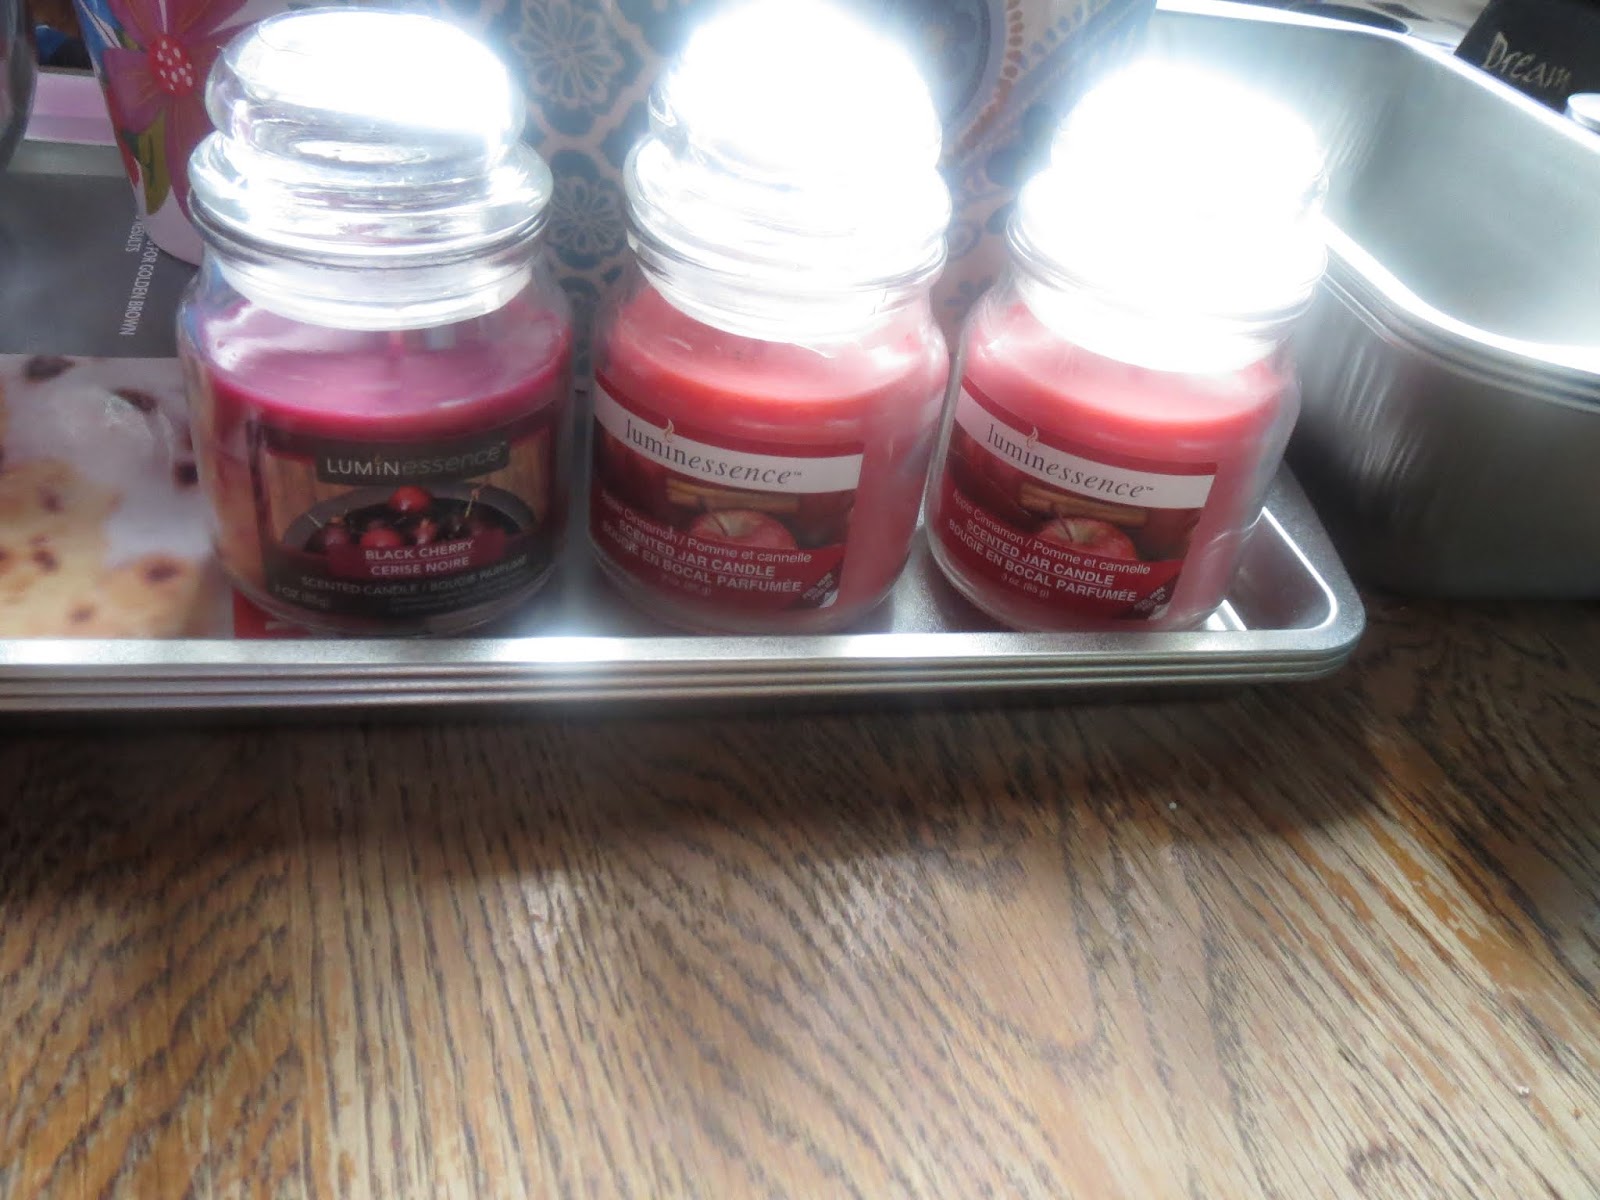
Yummy smelling candles

We all need coffee!☕

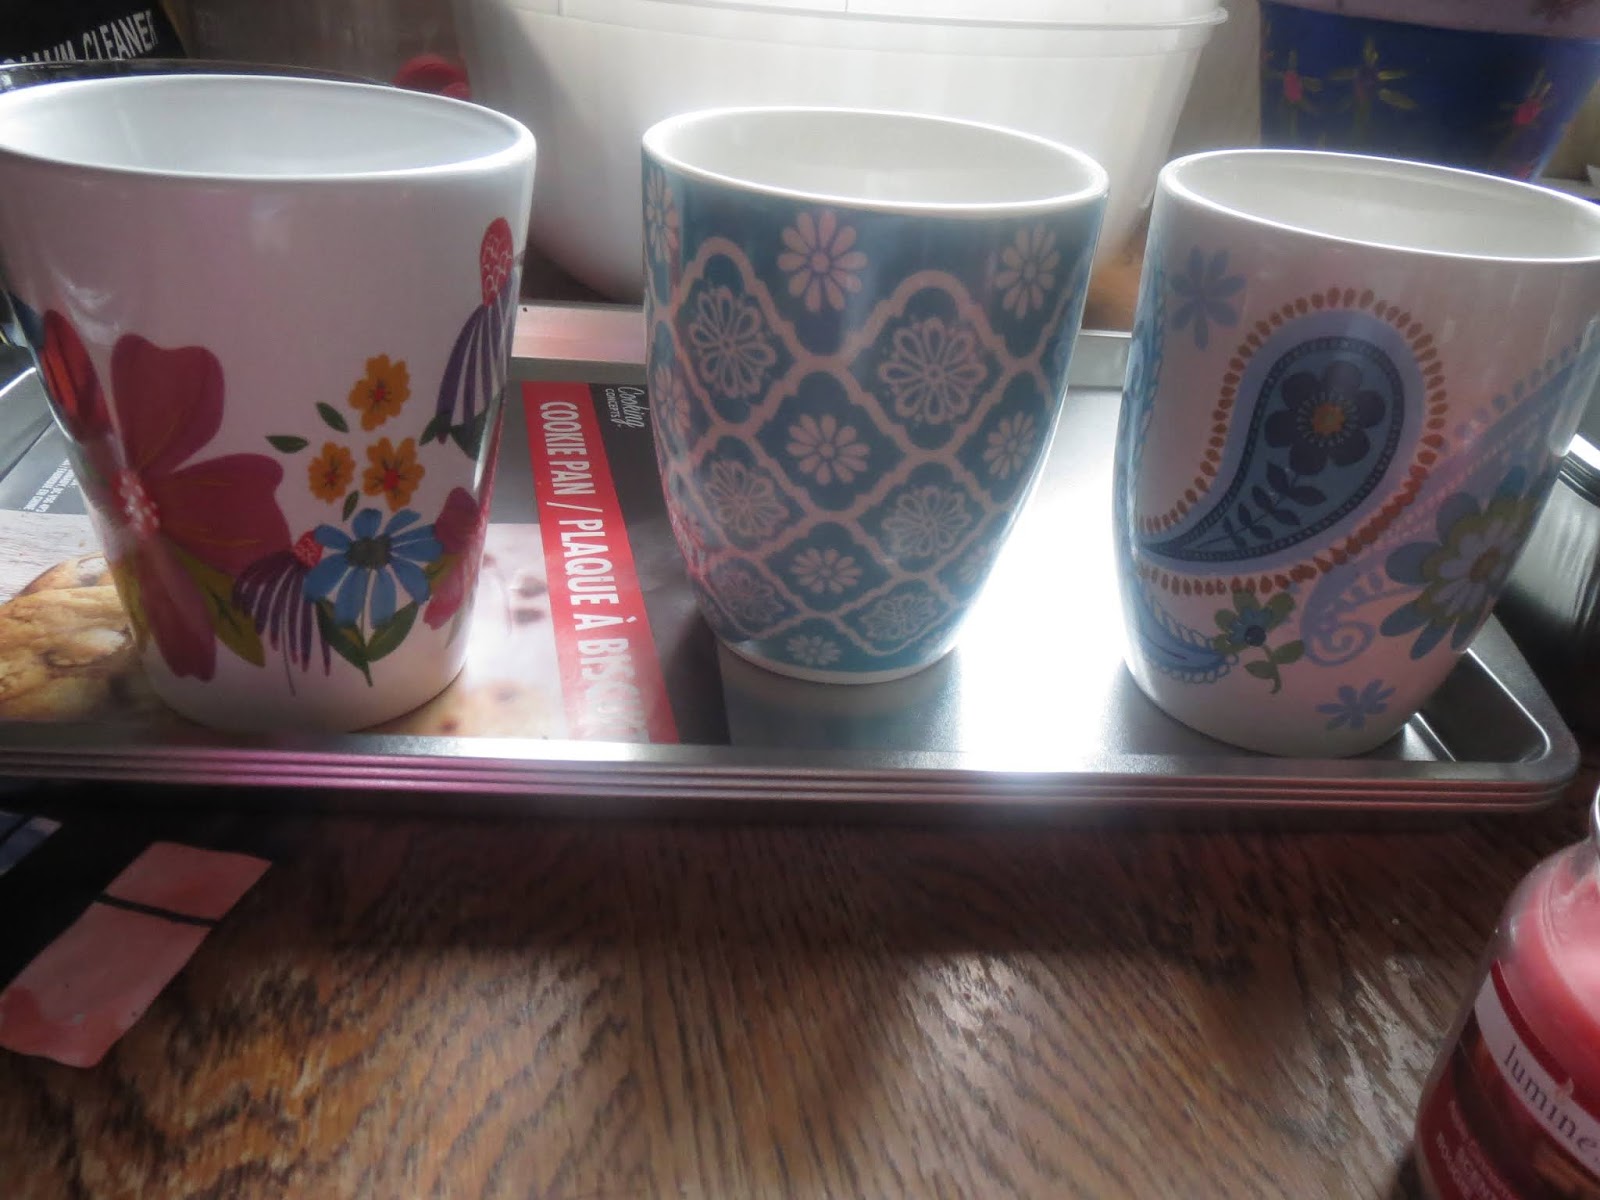
How awesome are the giant cups!

Each get a different pot holder!

Getting to together!

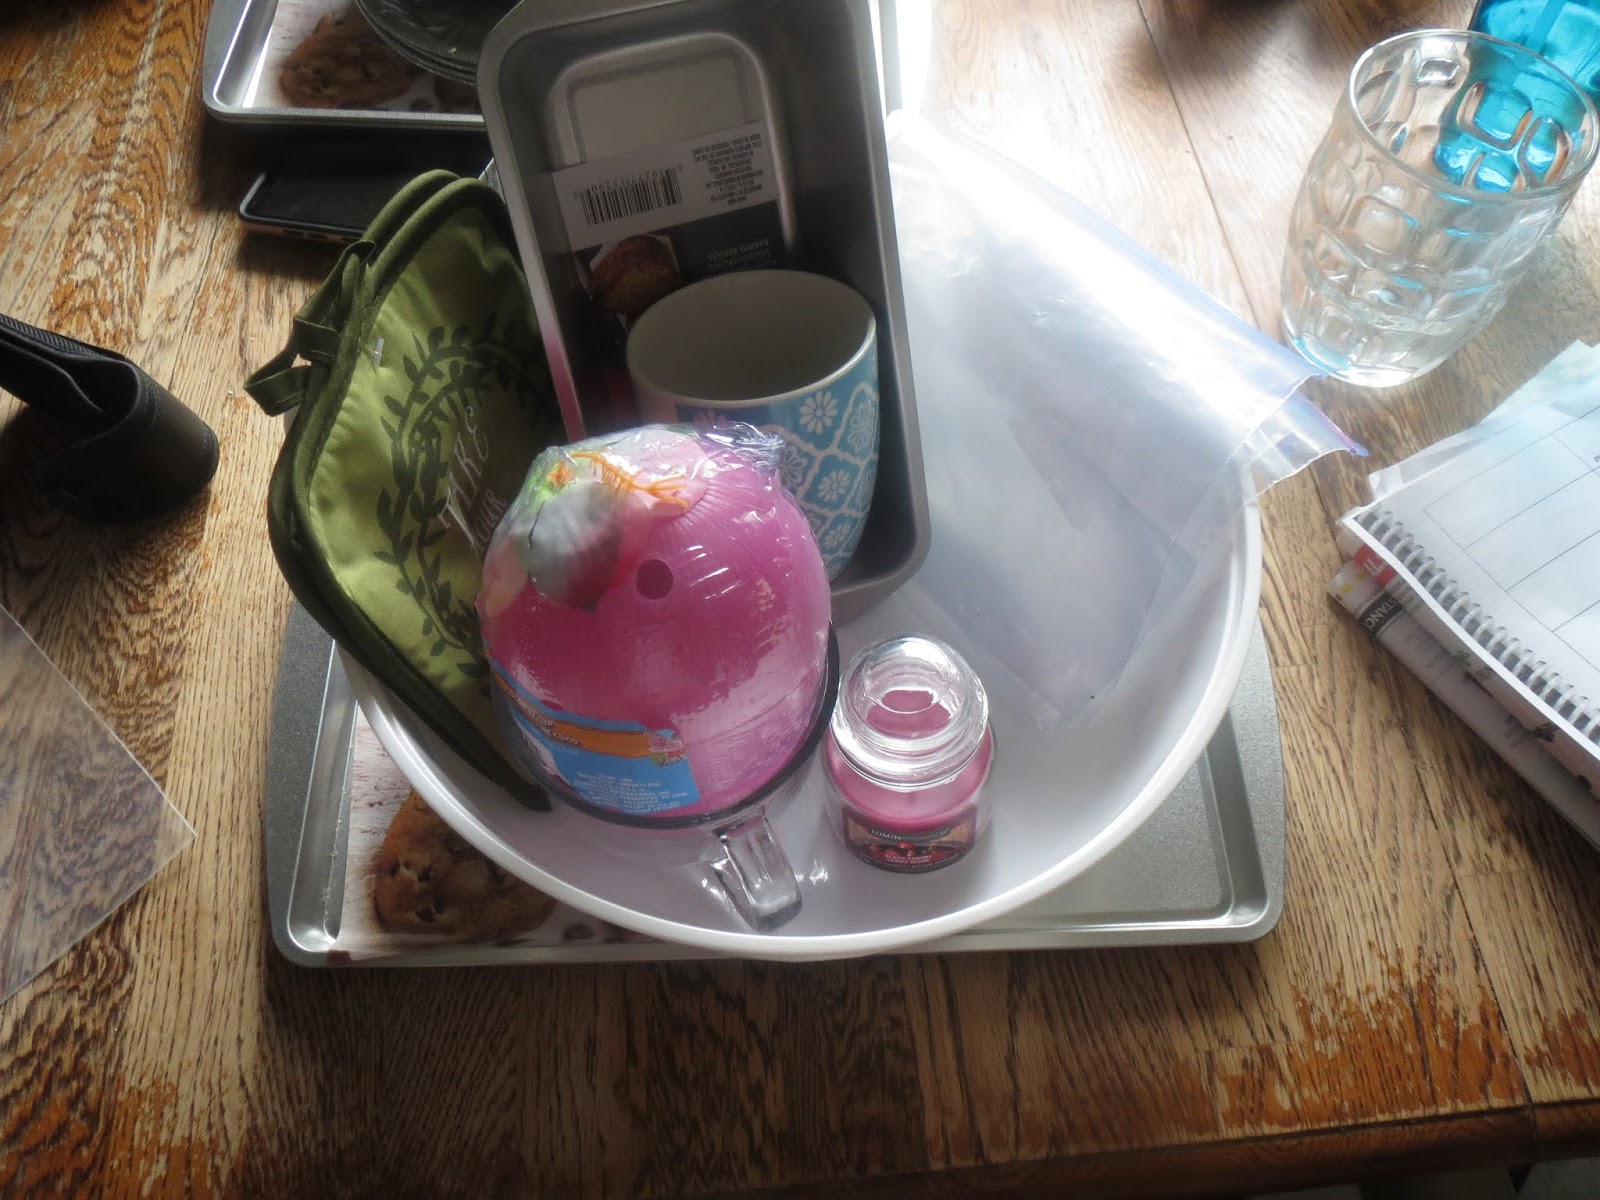
The bags will get filled with mixes, add some tissue paper and clear wrap!👌👍👏

Uncategorized

Mama Been Busy!

Good morning and welcome back to this weeks blog at Classy Classic’s By Kandis! How has your week been? Sun is shining and birds are chirping, and don’t forget the mosquitoes are biting!

This week has been so busy, I realize I say this every week however this week has been more the busy. I have been pushing extra hard to get my May tasks completed! I am proud to say that I have completed them! What were these tasks, that has been following me all month?

I got all my garden planted and tomatoe and pepper plant which are located out side my garden! I also have completely cleaned out our camper. I had moved everything and wiped top to bottom out. I also pulled all the dishes and washed them. Then I got everything put back in place.
Let’s start with the camper talk.

I had used a vinegar and water solution for the outside of the cupboards and bleach water in the cupboards. I broke this up into stages throughout the month. The dishes were pulled out and put into a sled to be washed outside. 😂 All pillows and blankets were pulled and washed also. Big nagging task that I couldn’t be happier to seen the end of.

Now for my garden.❤

I love my garden and it has deffently taken years of learning to get it were it is, with so much more to learn! How ever let me tell you what is planted this year.
It is a more basic garden compared to other years!
I planted this year… carrots, radishes, peas, beans, cucumber, broccoli, cauliflower, cabbage,brussels sprouts, beets,onions, lettuce, potatoes, squash, celery, cantaloupe, watermelon, pumkin, tomatoes and peppers.
My tomatoes are located in a raised garden, my pepper plants are in tires along the garden and some by the house! The cantaloupe and watermelon is in tires this year along the garden also!

I am needing to by a couple plants from my local green house as I lost time with the husbands accident which was at the time that I usually start more seeds inside. So I will just purchase them this year!

I completely flipped my garden this year also in hopes for a good year as last year was not a strong garden year, and my freezer showed it.

With these tasks being done there was still house chores, and children to be taken care of.
This was a busy month with some hard tasks that sure took up some time, but now that they are done, they are just that done!
Do you garden?
What do you plant?
Is there anything that you struggle with to grow?
I have more issues with carrots and potatoes!
Got a garden question, ask me in the comments down below or on Facebook under classyclassicsbykandis.

I will be sharing garden tips there as the summer goes on. I have always been on the fight with slugs in my garden, so I have some tricks that help keep them away!
Let me know what garden topics you would like to talk about! I would love to have a chat about it! Weeds are like laundry always there for when you need them haha.

Till next week’s blog as June rolls in and school days are on the count down, it is sure to be a exciting time, so make sure you hit that follow button to catch all the fun here on Classy Classic’s By Kandis.
Don’t forget to follow me on Instagram under Kandis Blask and Facebook at classyclassicsbykandis, for more day to day posts.

I hope you have a great weekend and let’s get ready to rock out June, and cross off those to do’s and catch a tan, and enjoy some time before school is out.

So many dishes
Tomatoes
I have never done my rows this way

Peppers and rhubarb 

Love this planter we made up this year

Uncategorized

Homemade Chocolates!

Have you ever noticed how there is not a holiday where chocolate is not acceptable? Why is it that chocolate goes up in cost at the holidays?

Hi good morning welcome to Its A Mom Life, I’m Kandis and I love chocolate. Well sweets for that matter, when it comes to will power I have none, when it comes to sweets!
I love baking which does not always help. The only good thing is I can say it’s healthier as I’m stuffing my mouth lol!

I thought I would share how I made very easy, basic chocolates for Easter this year. This is how I melt all chocolate for baking also. I use a double boiling pot method!

I do this way as chocolate burns easier then one thinks. This just makes it a little more fool proof as you melt the chocolate.
For this method simply take 2 pots, one that will fit in the other.
Add water to the bottom pot, place smaller pot in water.
Heat on low to medium heat. Add your chocolate to the empty pot, stir while it melts.

For these chocolates I used white chocolate squares and semi-sweet chocolate squares. In two separate pots I melted both kinds, when the chocolate is completely melted it was easy peasy.

All required is then to scoop the chocolate into the molds. Half I did white chocolate first then dark chocolate. The other half was done the opposite way. Then slightly bang on counter to even out and release any air bubbles that may be in there. Chill in fridge or freezer!

That is all there is to making homemade chocolates. If you want to make it fancier you can add nuts, sprinkles or even edible glitter sprinkles. The choices are truly endless.
Once you got your chocolate base it’s all fun from there.
What do you think?
Have you made your own chocolates, how do you do yours?
Like homemade ideas make sure you hit that follow button then for more blogs.
Also you can follow me on Instagram @kandisblask or on Facebook Kandis Blask for more day to day fun.
Till next blog have a great chocolate filled day!
Cause everyday is acceptable for chocolate😁😂!

Water in pot on bottom, chocolate in the top!
Silicon molds from amazon
Fill molds with melted chocolate and tap on counter
What they will shape as!

Simple way to make Chocolates!

That is all there is to it!
Uncategorized

Easter Is Coming! Baskets under $20 each!

Good morning everyone and welcome to Its A Mom Life. This is a funner blog, as it’s about candy!! Well ok it’s about the kids Easter baskets, but still candy lol.

I had set out this year that they don’t need much junk food 😂. Then like a kid in a candy store I went into bulk barn and got more candy then I thought.
Do you have this problem that couple scoops really don’t look like much in the bag?
I also hit the dollar tree, for so much fun non candy stuff.

This year is different as my 2 older kid’s are not home this year for Easter. They are heading to their grandparents, so I still ended up getting stuff. I thought it would be a cute idea to have some Easter surprises on their pillows for when they got home. Of coarse I had to send something as I’m just that type of mom.

So what to send what to keep at home. I found these adorable egg containers at the dollar tree and used them to put the candy in. This is what is being sent cause you send the candy and keep the no sugar activities for home haha!

There is one for my daughter and one for my oldest son more full of candy then planned but filled and ready to go. Then they have the other pile of coloring stuff, and one fun thing for each with a couple things for candy, not like the jumbo candy filled eggs. Lol dang bulk barn I tell you!😂😮

So where to start, I layed everything out, and sorted it to what is what. Candy one place, toys the other.
The egg containers and then my toddlers basket.
As for the baby he just got a teddy bear, but what do you get a 3 month old for Easter?

So Masyn my two year old got a bag of candy as I just put all his together in a bag for his basket. I am not using any basket grass with him, as he EATS EVERYRHING! He did get stickers, coloring books, beach ball, bubble blower, an apron and just some fun little kid stuff.

The older kid’s eggs got filled then bagged, to go. They have a color wonder book, a chicken that lays gum balls, a sucker, 4 pezz each and then my daughter got a beautiful fan and my son got a new pair of sunglasses. These will be for on their pillow.

I also bought white and dark chocolate squares, to make some fun chocolate, I will show if I end up getting them done! That about wrappes up the Easter haul for this house.
How did you do on Easter stuff?
Did you make items or buy them? Staying home or travelling?
Let me know in the comments down below all about your plans for this Easter.
Hope you have a great one, make sure you go ahead and hit that follow button for notifications on blogs, also follow at Facebook and Instagram under @kandisblask and Kandis Blask for more day to day Easter fun.
Till next post have a hoppy good weekend!

Everything for Easter!

What will be on the older kid’s pillow when they get home!😁
Dollar tree eggs with candy to go and a pack of stickers
Basket with candy and books,stickers all fun for the toddler!

The bunny had to bring the hubby goodies❤

Uncategorized

March Find The Gold!

Hello and welcome to Its A Mom Life.
Its a new month, and almost spring. Time for a new challange.
This challenge is a little like a lady that I follow Cass from clutterbug, she has a hug your home challenge that I will leave a link for down below. Go ahead and check her out for lots of organizing motivation.
However for this blog I would like to start a new March challenge. So here we go.
To find the gold, you must find the pot! To find the pot, you must find the rainbow! To find the rainbow you must look.
Sounds a bit like decluttering the house. Sounds like my house anyways. As 2019 is here, I had my last baby, it is time to find space in my little house. With March here ad the weather warming up in Saskatchewan, I thought what a good time to get some stuff gone through and out of the house!
So, my challenge is to pick one or two rooms a week and clean and declutter. I am aiming for 2 rooms as I already kinda started this challenge. I am excited about this challenge as I am now in a time where i can regather all the stuff that has been placed here and there, and reorganize it.
Finding that one spot or home for many items that got put somewhere while more or of if is located in another spot. No more “oh it can go here for now.”
My March challenge is to get one bag or box from each room of garbage and one for donate or sell.
So if you’re game, let’s get out our boxes and bags out. Get a game plan are you working from room to room, or category by category.
I got a lot done by doing random old paper work. Still need to finish that big project when it’s all gathered.
So get your starting point ready. Ready, Set, go declutter.
I will see you next Monday for more organizing fun. I hope this motivates you to get rid of some clutter, also I hope to show you some of my progress as I hope to hear about some of yours next week.
Till next week have fun getting some of your space back, and maybe making a little money on stuff youn don’t need any more.
Till next week have fun decluttering rooms and filling those boxes and bags.
Let me know how your decluttering plan in the comments down below! Do you declteer many times in a year? Declutter only when you have to?
Don’t forget to hit that follow button for all the upcoming blogs and challenges and motivation coming on It’s A Mom Life!
Link:
Clutterbug
https://youtu.be/F4rcZgXAeKk

Uncategorized

Your own FABRIC SOFTENER!!

Hello, good morning happy Tuesday. This diy Tuesday is a good one, I have been making this product for a long time now!
This is something that I found to work great, and save a LOT of money! This is making your own fabric softener!
This product is one of the easiest things I make and will not go back to store bought! This product contains ingredeints that you will more then likely have on hand and if not very cheap to get!
So if you’re ready let’s get to it!
For homemade fabric softener all you will need is:

  • an empty jug ( I just have a very old fabric softener jug) 
  • 2 cups of conditioner any kind, I use the cheapest from Wal-Mart, you can use dollar store but for the size difference I use Wal-Mart! 
  • You will need 3 cups white vinegar.
  • Last you need 6 cups warm water. 

That is all you need!
So now let’s make it, take your 2 cups of conditioner and 3 cups white vinegar and mix together, pour into the jug, then just add the 6 cups water.
Give it a shake I try to shake it a little before each use also, before using it. That is all there is to it.
I will leave a link down below to the pin for Pinterest that I had used when I started this money saving product. This will save you so much and it works great.
The vinegar will also help with a little extra stain remover boost.
So, give it a try, let me know what you think of this fantastic homemade product in the comments down below.
I would love to know what other diy products you would like to try?
Until next diy Tuesday have a great day and don’t be scared try making something new to save that money this week, and of coarse don’t forget hit that follow button to follow all the blog topics here at ITS A Mom Life!


Link:
https://pin.it/5bicngx4wwb6ry

Uncategorized

Last round of February

Hello, welcome back to Its A Mom Life, let’s finish our last “love” month off shall we. This is a shorter week so the challenge will be easy! I’m hoping anyways!
With there only being 4 days left, I purpose we finish the month off strong!
This is a full money freeze! Unless you have bills that are needing to be paid or come out of an account, don’t use that money!
Put those debit and credit cards away, in a drawer, freeze them in a cup of water so you can’t grab it. Do what you have to do but don’t touch that account!
It’s only 4 days you can do it, no milk don’t have cereal, no bread improvise! You can finish the “love” month off strong and finish saving that money!
How did your month challenge go?
Did you learn any tricks with this month’s challenge?
The real question is did you notice the money you saved?
Let me know in the comments down below what you thought about this month’s challenge!
As always don’t forget to hit that follow button for all the up coming challenges and blog posts!
Till next Mondays money saving fun, have a great inexpensive day! 😁$$$

Uncategorized

Diy Baby Wipes

In the world today of all the hustle and bustle it can be hard to stop, take a step back, look around and just enjoy!
I have made, tried, loved and hated lots of different products. With life as busy as it is with 4 kids, and money being tight from here and there I make a lot of my own stuff. Some of the products are worth it all, and some not at all. However with that said this is one product that I love and will keep making!
This is homemade baby wipes! How much money gets spent on random baby products? Yes you need wipes when you have a kid, but do you need some that are not actually good for the baby! Store wipes I find not to be the best there is alcohol in them, they dry out if left in the vehicle and freezes (As I live in Saskatchewan it’s cold a lot of the year) they are expensive, and just not the best!
With this I have a recipe that is so easy to make, costs so much less then buying them, and work great without drying out the baby’s bottom! Sound like something you are interested in? Then give them a try!
For these wipes all you need is:

  • Select a size paper towel (these just make it even easier)
  • Coconut oil
  • Baby wash
  • Water
  • A bowl to mix it That is all! 

How I do it, is a little different then I was taught, it’s just cutting some extra corners to get to my final step! 😉😎
With the paper towel cut in half to make one roll into two! They will be squares now. In your large bowl, add 2 cups hot water for every half of roll of paper towel, so if doing both halves double everything.
Then add 2-3 tablespoons coconut oil.
Then add 1-2 tablespoons baby wash Stir with the hot water until oil is melted and everything is mixed.
Then put the paper towel into the mix and get it all wet, squeeze out excess water, now this is the longest part, unroll the paper towel and layer it.
However you would like I just go back and forth until it’s all layered.
Then just store it in a air tight container or even a large zip lock bag! That is all there is to it, they don’t dry out, and work fantastic!
Give it a try let me know what you think in the comments down below, have you made them before I would love your opinion on it.
Don’t forget to hit the follow button to join in the fun, let me know what DIY Products you would like to make! Till next Diy Tuesday have a great week, try to make your stuff, and save that money!

Uncategorized

Let’s Do Another Challenge

It is almost the end of the month, but there is lots of time to challenge ourselves! This week I think is a good week to do a money freeze,and a 1/4 grocery bill! Sound good, let’s save more money this month cause who does not “love” to save money!
So… With this let’s start with the 1/4 grocery bill, it is just what it sounds try to spend a quarter of what you would, this is where our hard work of the meal planning comes in! This is so it’s not a full money freeze. If your normal weekly budget for groceries is $100 then this week aim for $25-$30. When making that grocery list remember the $25 is only for this week, and I know you can do it!
Next comes the money freeze part to it, this is not a full money freeze as we are getting groceries, but it will still help. With purchases other then the  1/4 grocery budget and any bill that are required to be paid this week, there is no spending money!
Say no to that gas station snack, and take out,nails, ECT for 7 days. This will save you more then you will think! It may seem hard but it’s only a week, I know if you want to you can do it!!
I hope you will join in the challenge and have fun with it, till next challenge have fun saving that money.
Leave me any questions below and let me know what will you say no to this week,what meals are you planning to make that grocery budget work. I would love to hear and get ideas, also don’t forget to follow along on It’s A Mom Life, lets inspire each other as we close in the “love” month!

Uncategorized

Learning To Meal Plan!!

Hi there and welcome to Its A Mom Life!
For this planning Sunday I thought we could talk meal planning! I would like to share some steps that I take to plan out my meals, and how I do more then one week planning at a time!
When it come to meal planning for multiple week’s this is where I find it helpful to have my freezer inventory done. You can have a pantry inventory done if you want that extra step.
First step is to get your week or week’s written out, I like to use a bright colored sheet, I like to color mine with a highlighter I find a fun paper makes it easier to keep and look at for the extended period of time. I also write my meals into my daily planner as I find this easier to stay on top of making sure my meat or items are pulled out of the freezer the night before or that day.
The next step is to brain storm different ideas, this is why I like to have my freezer inventory sheet. I use a separate peice of paper, write out as much as I can off the top of my head.
Now, it’s just a matter of figuring out what meals you want to eat when and write them in your meal planning! This step can be done all at once or over a couple Day!
That is all there to it, I find this helps in making a grocery list, without going over budget as I know what I need to fill in those meals and snacks.
I hope this helps motivate you to try to meal plan this week, remember start small if you have trouble, try just a couple days, then slowly get bigger with it. Remember any amount that you can do without getting stressed out will make a difference.
So give it a try, let me know are you new at meal planning, got any questions I would love to hear them! I would also love to know what steps you take, if meal planning is something you already do!
Until next Sunday have fun and keep planning! 😁❤